History |
The History of the TSS Kyarraby Keith Coombs
The Twin Screw Steamer Kyarra was torpedoed in May 1918 near Peveril Point, Swanage. The wreck was not deemed a hazard to shipping and was forgotten until rediscovered by amateur divers in the 1960s. Since then she has become one of the most popular wreck dives in the UK.
Divers retrieved the brass name letters in the 1980s when the tidal current had started to remove them. They have not been seen until recently when they were donated anonymously to Swanage Pier for safekeeping. It is intended that they are included in a new maritime exhibition in Poole Museum but are currently on display in Langton Matravers Museum in a copy of a bow plate.
The Kyarra had been launched in 1903, built in Dumbarton by Denny Brothers for the Australasian United Steam Navigation Company; she was a large ship for her time, 6,953 tons and 416ft long and spent a successful 10 years on the Australian Freemantle (Perth) to Sydney route. She was well set out for a Coastal Ferry with impressive saloon (first) and second class accommodation, an open deck below the accommodation for livestock, one refrigerated hold for frozen food, a secure strong room for transporting gold and an awful lot of brass!
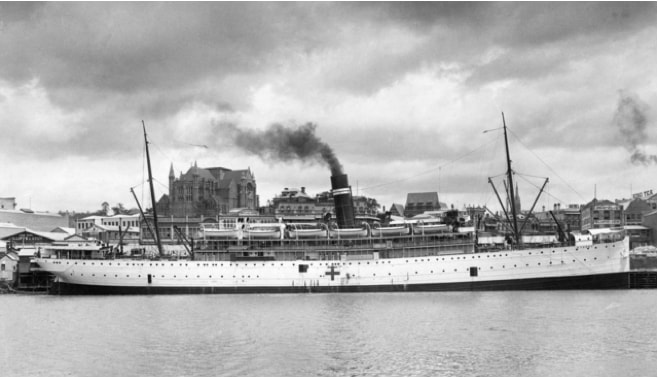
Her life as a luxury liner was put on hold when she was requisitioned by the British government as a hospital ship (HMAHS Kyarra) in Nov 1914. She was painted white with a green stripe down her side and a red cross amidships. Her first voyage was in Dec 1914 to take 5 Australian hospitals with medical and AIF (Australian Imperial Force) staff from Sydney and other Australian cities to Alexandria, she returned from Cairo with medically unfit and disciplinary cases.
In March 1915 she was converted to a troop transport (HMAT A.55 Kyarra). Her first voyage, with Convoy 5, was to take 900 troops to Alexandria. She returned to Sydney with the first ANZAC wounded servicemen of the Gallipoli campaign from Cairo hospitals in June 1915. Her next voyages were with convoys 10, 16 and 22 carrying troops to Devonport to fight on the Western Front. While in Cardiff in Aug 1916 a gun was fitted on her aft deck as protection against U-boats. She made 2 more voyages carrying troops to the UK, also travelling to Africa and India, before being released from the requisition in Sydney on 4th Jan 1918.
For her first voyage carrying general cargo she was bound for London via New Zealand and Panama, she joined a convoy at Newport News which crossed the Atlantic and she discharged her cargo in London. She was then fitted out at Tilbury Docks to carry 1,000 Australian war casualty invalids home. She was also fitted with Otter mine sweeping equipment and given new camouflage paint.
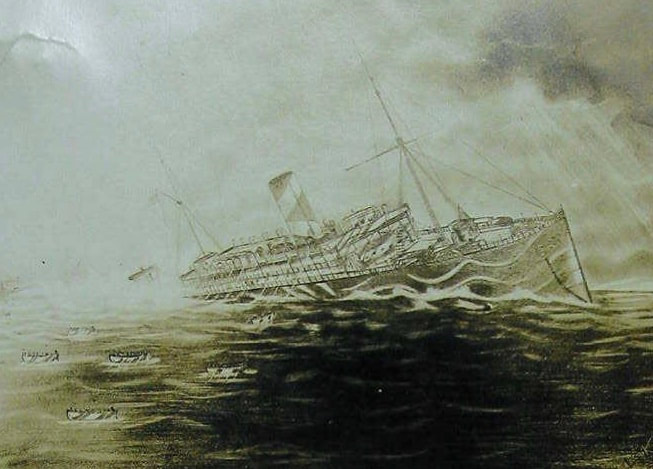
She left Tilbury on 24th May 1918 with her holds full of general cargo bound for Devonport to pick up the war casualties. She anchored overnight at The Nore off Sheerness in the Thames estuary then zig-zagged down the Channel to try to avoid U-Boats (UB57 had sunk RMS Moldavia 25miles SE of Isle of Wight on 23rd May) and anchored overnight at the East point of the Isle of Wight. On the morning of 26th May she had come though the Solent and tried out her new mine sweeping gear through Poole Bay, but near to Peverel Point, Swanage she was hit amidships in the forward stokehold on the port side by a torpedo fired from UB57 and sank 20 mins later about a mile southeast of Anvil Point.
The few passengers, the medical staff and most of the crew on board took to the ships’ boats and rowed into Swanage, but 5 crew, mostly firemen, were killed as the torpedo hit the boiler room, a 6th died in Swanage Cottage Hospital from his wounds.
UB57 subsequently torpedoed the cargo vessel ‘Clan Macvey’ in much the same location on 8th Aug 1918, before hitting a mine near to the Belgian coast whilst returning to her base in Flanders. She was a total loss with all hands, including her captain Johannes Lohs, killed.
When researching the ship it is impossible not to think about the part she played in supporting the troops during the First World War, both in the Gallipoli campaign and the Western Front and the letters make an impressive memorial to those men.
The Gallipoli campaign made a serious impression on Winston Churchill, who as First Lord of the Admiralty was a senior proponent of the campaign but resigned from the government when it was realised how badly the allied forces had been supported, both by the senior leadership in the field and the provision of arms, food, medical provisions and replacement personnel. The mistakes must have been analysed, as the planning for the D-Day invasions made sure they were not repeated in Normandy.
The adjacent display in the Langton museum highlights some of the equipment provided by the Telecommunications Research Establishment for D-Day, including: Radio positioning system installed on the boats so that they knew where they were and stayed within the mineswept channel; Equipment to block German coastal radar so that they were not aware of the approaching armada and kept the element of surprise; Chaff (aluminium foil strips) dropped by planes flying over the channel towards Calais to give the impression of an approaching fleet of aircraft to help with the illusion that the invasion destination was Calais.
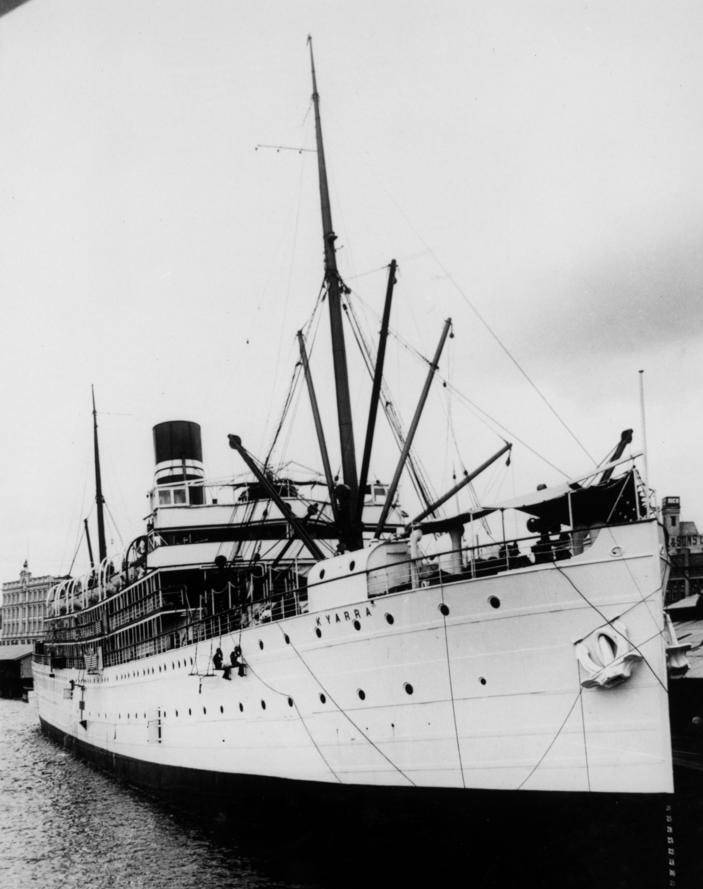
Most of the information on the Kyarra has come from: The History of Australia in the First World War, Volume IX - Royal Australian Navy, Appendix 6 - Merchant Ships, by Arthur Jose and edited by Charles Bean, first published in 1928, and now available on the Australian War Memorial website. The photo of the Kyarra at Circular Quay, Sydney is from the AWM. The drawing ‘Torpedoed HMAS Kyarra’ is by Frank Harding, one of the last crew members to leave the ship.
|
© 2024 Langton Matravers Local History and Preservation Society


